
Share This Pattern :
In this pattern we will make a functional and stylish crochet wallet featuring a simple rectangular body with a decorative granny square flap closure and an inner pocket.
it so simple, elegant and beginner friendly so without further ado, grab your hook and let’s get started!
Materials
- Medium weight acrylic yarn (purple or color of choice), more colors, for the inner pocket, yellow and brown for the sunflower
- 4.0 mm crochet hook
- Yarn and sewing needle for sewing
- 1 set of magnetic snap buttons
- Scissors
Gauge
18 stitches x 18 rows = 10 x 10 cm in single crochet
Abbreviations
- Ch = Chain
- Sc = Single crochet
- Hdc = Half double crochet
- Dc = Double crochet
- Sl st = Slip stitch
- St(s) = Stitch(es)
Pattern Instructions
Main Wallet Body
Foundation: Ch 21 optional – any number odd or even does not matter.
Round 1: Work 1 sc in second chain from hook and in each chain across. (20 sc), don’t turn continue working on the back of your foundation ch, sc in each ch.
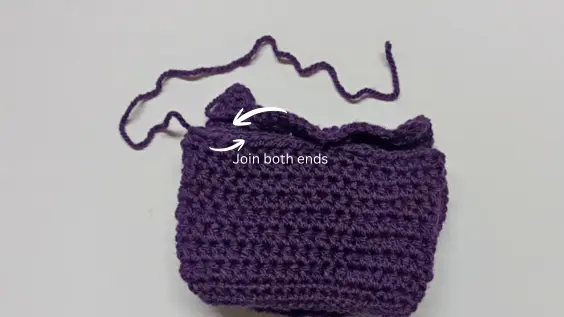
Rounds 2-10: Continue working in continuous rounds, Work hdc in each stitch around for 9 rounds total, keeping the work flat with no increases or extra stitches at the corners. After completing Round 10, sl st to join and fasten off.
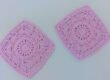
Granny Square Flap
Work the granny square following This pattern instructions.
Important Note: Only complete the first border of the granny square pattern. Do not add the second border.
Edging the Granny Square Flap
Round 1: Work 1 sc in each stitch around the entire square.
Round 2: Work 2 dc in each sc around 3 sides of the square, creating Ruffles around, leave the top side with no ruffles.
there are 2 sc at each corner, work 3dc in each of them for proper shaping.
Fasten off, leaving a long tail for sewing.
Attaching the Flap
Using a yarn needle, attach the edge with no ruffles of the granny square to one side of the main wallet body. This will create the closing flap. Install magnetic snap buttons on the granny square flap and the corresponding position on the main wallet body according to package instructions.
Inner Pocket
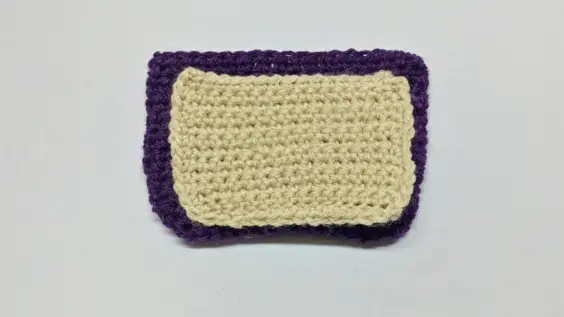
Foundation: Ch 16
Work in rows of sc until the piece measures just below the edge of the main wallet body (approximately 9 rows).
Finishing the pocket: Work 1 round of sc around the entire pocket, except for the upper edge (leave the top open).
Using a sewing needle, sew the pocket to the inside of the main wallet body.
Finishing
Weave in all ends. Your wallet is now complete and ready to use!
I’d Love to see your finished product.
join our Facebook group
Follow us on
Subscribe to our YouTube Channel for more tutorials
Happy crocheting


2 Comments