")
Share This Pattern :
So you’ve got a hook in one hand, a skein of yarn in the other, and a YouTube playlist queued up. Welcome! It’s so good to have you here. Crochet can feel like learning a secret code at first, chains, single crochets, weird abbreviations that look like a cat walked across your keyboard (sc, hdc, dc… huh?). But here’s the truth: most projects are just a remix of a handful of basic stitches.
Once you’ve got these 10 in your muscle memory, you can make almost anything. Scarves, blankets, amigurumi bees that multiply in the middle of the night, it all starts here. Let’s break them down stitch by stitch.
1. Chain Stitch (ch)
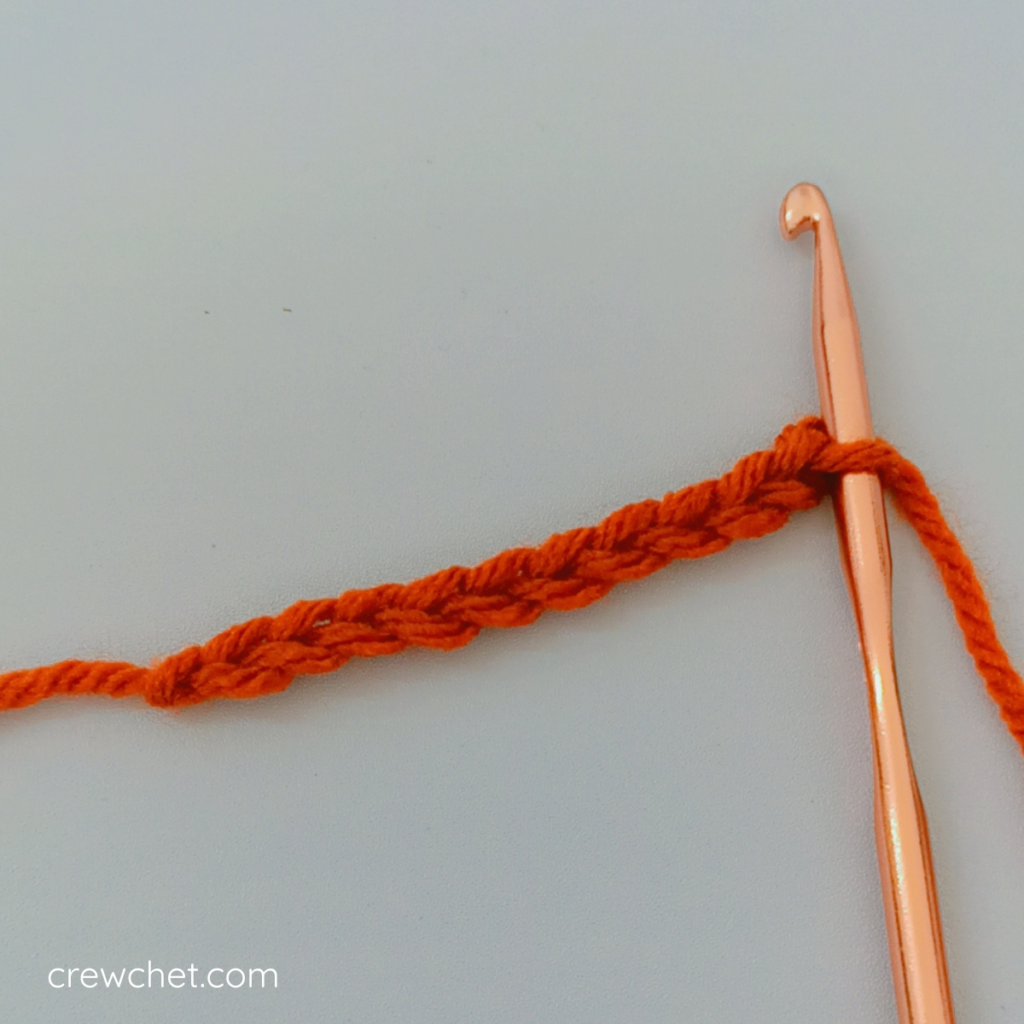
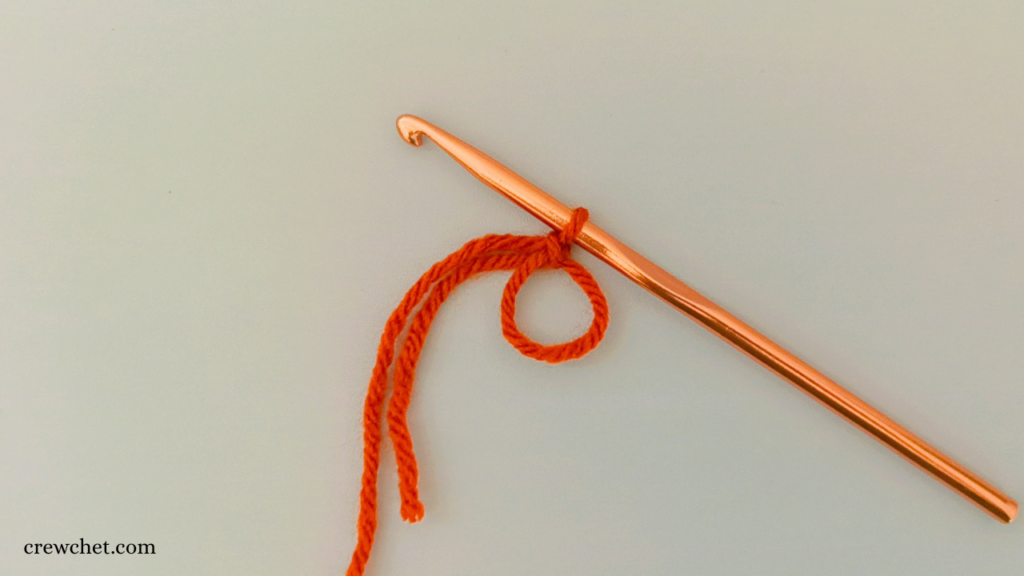
The absolute foundation. Every crochet project starts with a chain, or at least a slip knot that leads into one. Think of it as the “cast on” of crochet. It’s just yarn over, pull through, repeat.
Why it matters: You use it to start your foundation row, and create spaces in lace. If you can chain, you’re already crocheting.
Crewchet tip: Keep your chains loose and consistent. Beginners almost always chain too tight or too loose, I sure did. Go up a hook size for your foundation chain if your first row keeps curling, control your tension if your chains look very different, one very loose and one very tight, and go a hook down if all the chains are loose.
2. Slip Stitch (sl st)
The little stitch that does big jobs. It doesn’t add height, it just moves your yarn from Point A to Point B.
Why it matters: Joining rounds, seaming pieces together, creating clean edges, and even surface crochet designs. It’s the glue of the crochet world.
3. Single Crochet (sc)
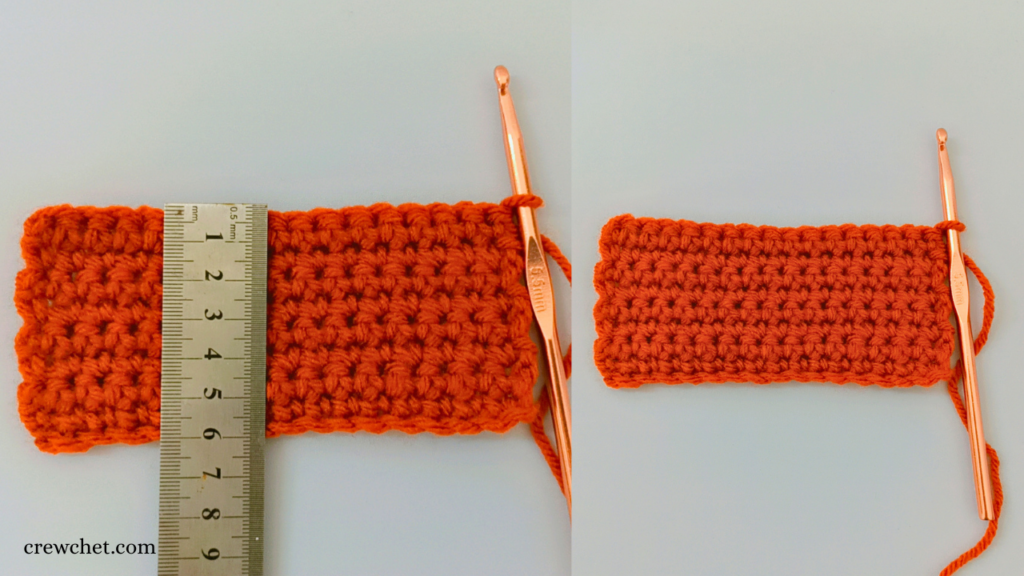
This is your first real “fabric” stitch. Single crochet creates a tight, sturdy fabric that’s perfect for amigurumi, dishcloths, and anything that needs to hold its shape.
Why it matters: It’s the gateway stitch. Once you nail the rhythm of insert hook, yarn over, pull up a loop, yarn over, pull through two, you’ve unlocked the basic of crochet.
Beginner hack: Count your stitches every row. It’s so easy to accidentally add or drop one at the edges. Stitch markers are your new best friend (even a bobby pin works).
In the image above, you can see the length of the piece is about 6 cm, this took 8 rows of single crochet, just keep it in mind for later to compare it with other stitches.
4. Half Double Crochet (hdc)
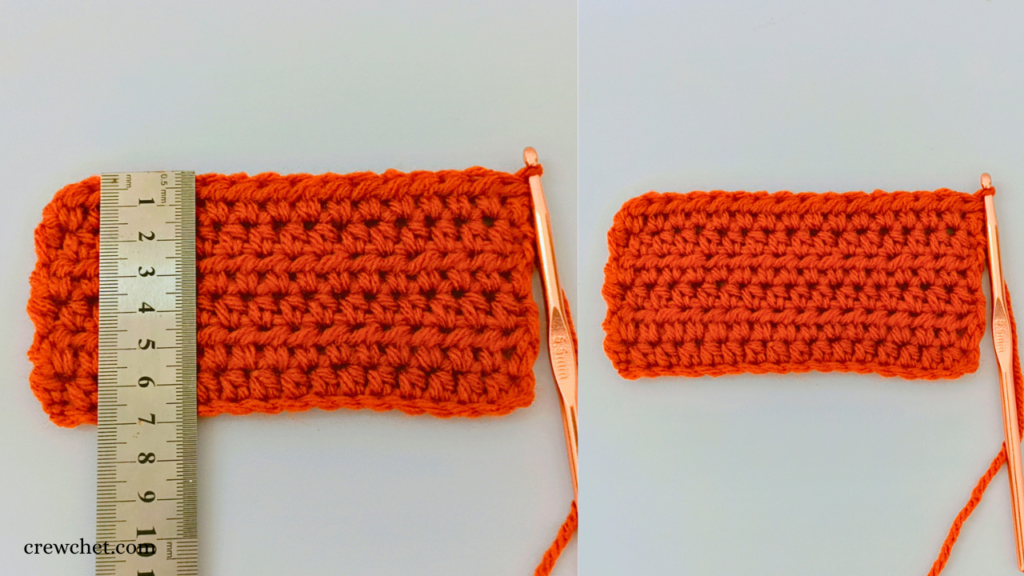
This one of the most used stitches, not too short, not too tall. Half double crochet is my personal favorite for blankets because it works up faster than single crochet but doesn’t leave big gaps like double crochet can.
Why it matters: It builds beautiful drape, adds a little stretch, and creates that cozy, squishy texture everyone loves.
a 7 cm of the same yarn as the one I made the sc piece with, same tension and hook took only 6 rows compared to the 8 rows of sc for 6 cm only, so you can see how it will make a difference in real projects.
Hdc is very famous for ribbed looks in beanie and other wearables.
5. Double Crochet (dc)
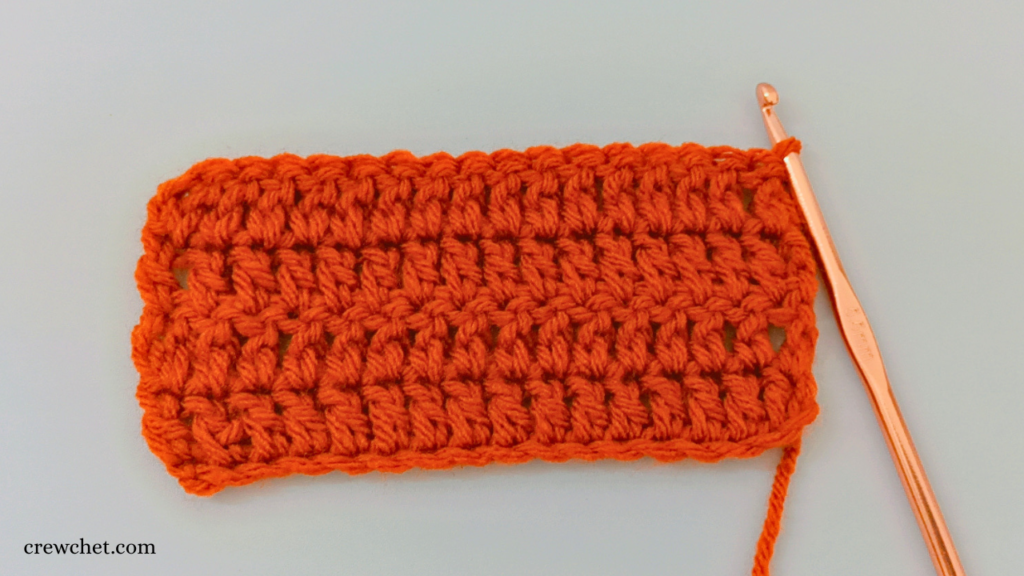
A classic. Double crochet is taller, airier, and the star of granny squares, shawls, and lacy tops. Once you’re comfortable with dc, whole new pattern categories open up to you.
Why it matters: It’s one of the most used stitches in crochet patterns. Speed, drape, versatility, double crochet delivers on all three.
Pro tip: Don’t forget to chain 3 at the beginning of a row (that usually counts as your first dc). It’s a common “wait, why is my rectangle turning into a trapezoid?” moment.
6. Treble Crochet (tr)
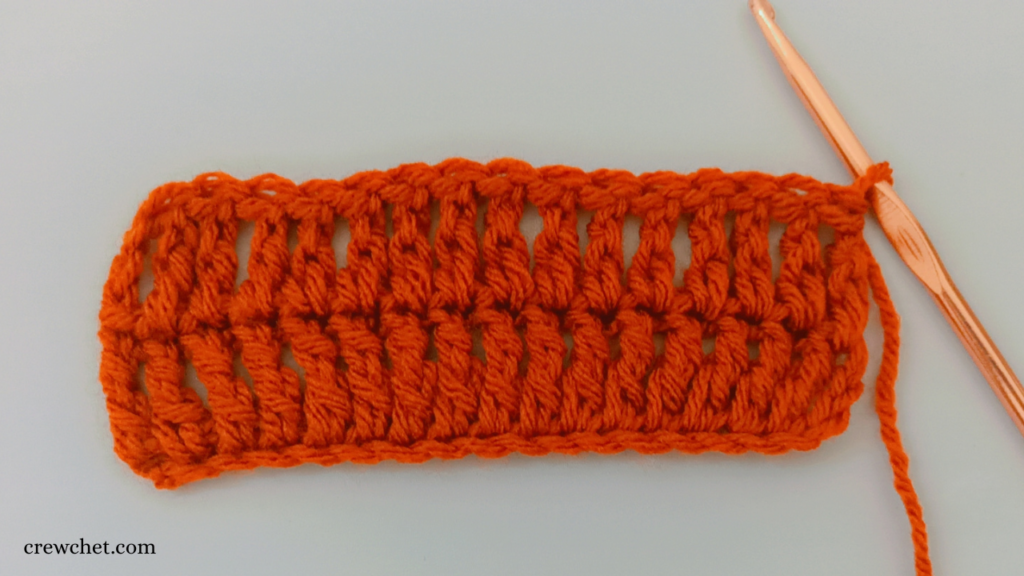
Sometimes called triple crochet, this is the tallest stitch. Two yarn overs before you even start, then work off the loops in pairs. It makes a lofty, open fabric that’s great for airy wraps or dramatic stitch patterns.
Why it matters: Even if you don’t use it daily, knowing treble crochet means you can tackle patterns with more complex repeats and textures.
Beginner note: It can feel a little wobbly at first because the posts are so tall. Use your finger to steady that first loop on the hook until your tension settles in.
7. Front Post & Back Post Double Crochet (fpdc & bpdc)
Okay, technically these are two stitches, but they’re mirror twins. Instead of working into the top loops, you work around the post of the stitch from the row below, pushing the stitch forward or backward to create ribs and cables.
Why it matters: This is how you get squishy, knit-look ribbing on hat brims and cuffs, or gorgeous raised cables on blankets.
Imagine this: fpdc pushes the stitch toward you; bpdc pushes it away. Once you “see” it, it clicks instantly.
You might wonder why would I list it here, it is not typical beginners stitch, but many of us got into crochet to make cozy winter socks or cute tops, and this where these stitches shine, it is hard to imagine it so I’ll drop a video below and you can follow the stitch, starting at 13:00
8. Increase (inc)
Not a stitch itself, but a technique you’ll use all the time. An increase just means making two stitches in the same space. That’s it. It’s how circles stay flat and amigurumi heads don’t turn into tubes.
Where you’ll see it: Flat circles (starting with a magic ring and adding increases each round), shaping garments, and chevron patterns.
Troubleshooting: If your circle is ruffling, you have too many increases. If it’s curling into a bowl, not enough. It’s a Goldilocks game, but so satisfying once you find the rhythm.
9. Decrease (dec or sc2tog)
The other half of shaping. A decrease combines two stitches into one, making your fabric narrower. In single crochet, it’s often called sc2tog (single crochet two together) or “invisible decrease” for amigurumi.
Why it matters: Shaping hats, amigurumi, garment waistlines, decreases make things fit. And the invisible decrease? It’s a total game-changer for keeping your stuffed animals from looking lumpy.
Crewchet secret: For an invisible decrease, insert your hook into the front loop only of the next two stitches, then complete like a regular sc. Magic smoothness.
10. Magic Ring (Magic Circle)
Technically not a stitch, but I’m putting it here because if you want to make anything round and hole-free (granny squares, top-down beanies, amigurumi), you need this in your life. A magic ring lets you tighten the center completely closed, no annoying gap.
Why it matters: It’s the cleanest start for working in the round. No more weird little hole at the top of your beanie.
Struggling with it? You’re not alone. Practice with a lighter-colored yarn and watch a tutorial at half speed. Once it clicks, you’ll never go back to the “chain 4 and join” method.
What Comes Next?
Master these ten, and you’ll be amazed at what you can tackle. A simple scarf? Single or half double crochet with no increases. A classic granny square blanket? Double crochet and chains, baby. A cute little whale plushie? Single crochet, increases, decreases, and a magic ring.
Don’t stress about perfection. Your first swatch will look a little wonky, that’s not a flaw, it’s a rite of passage. Every uneven tension and accidental increase is just your hands learning the language.
Ready to practice? Grab some medium-weight yarn (worsted/Aran), a 5mm or 5.5mm hook, and try making a small sampler square that uses at least five of these stitches.
If any problem faced you or you made any mistake, just check our most common mistake article, it might be of a help.
Now go make some loops, friend. You’ve got this. 🧶
I would love to see yours! Join our Facebook group and share your finished project.
Follow us on Instagram | Facebook | Pinterest
Subscribe to our YouTube channel for more tutorials.
Happy crocheting!