
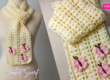
Looking for a quick and adorable crochet project? These crochet Teddy Bear appliques are the perfect choice! They’re small, beginner-friendly, and can be used to decorate baby blankets, hats, bags, sweaters, or even greeting cards.
In this tutorial, you’ll find two versions of the teddy bear face , one simple and one with a slightly larger, rounder head and fuller ears. Pick your favorite, or try both! you can finish one in less than 20 minutes.
you can find a video tutorial for pattern 1 on my channel.
What You’ll Need
🧶 Materials
- Yarn: Cotton or acrylic in brown, beige, or your choice of color
- Hook: 3.0–4.0 mm (depending on yarn weight)
- Tapestry needle (for weaving in ends)
- Scissors
- black and white yarn/thread or safety eyes for the face, note that safety eyes are great for stuffed dolls but not when you are making an applique to be sewed onto the clothes.
🔤 Abbreviations (US Crochet Terms)
- MR – Magic Ring
- sc – single crochet
- dc – double crochet
- tr – treble crochet
- slst – slip stitch
- ch – chain
- inc – increase (2 sts in the same stitch)
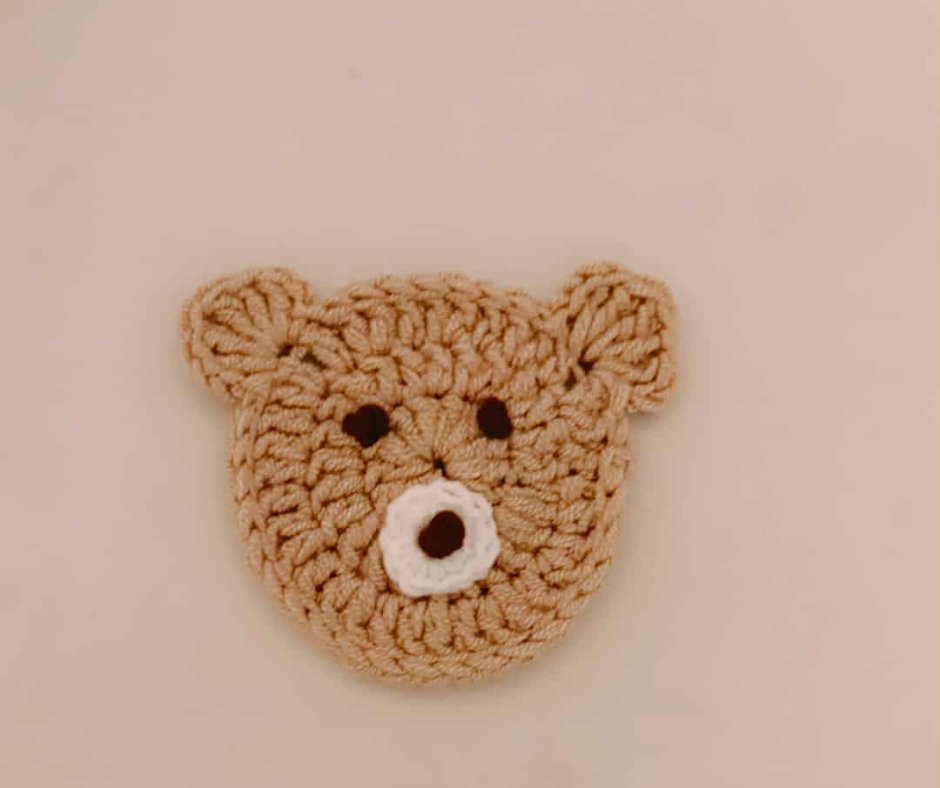
Pattern 1
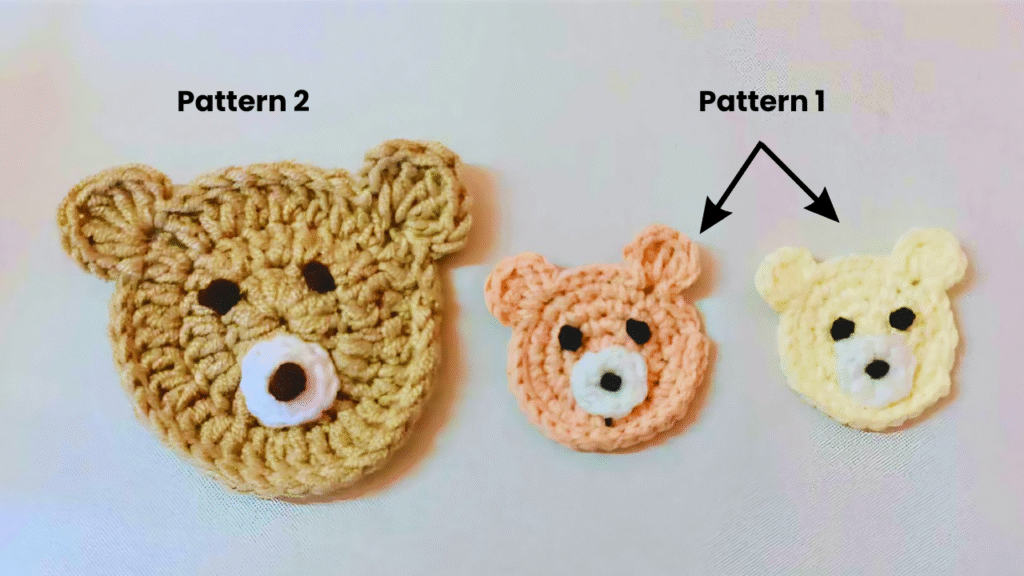
for this pattern we are aiming for a small size applique were it is best suited for babies booties, beanies or any baby clothes that is little, for kids under 3 years old usually, but notice there is a slight difference in size although I’m using the same yarn size and the same pattern yet the hook size is 0.5 mm difference so it made one look a bit larger than the other, this is just to show you, it’s a flexible pattern just play with the yarn or hook size to get a larger or smaller piece.
Head
- Start with a magic ring and make 6 sc.
- Round 1 : Increase in every stitch (12).
- Round 2 : Work 1 sc, inc all the way around (18).
- Round 3 : Then inc, 1 sc around (24).
Ears
- Slip stitch 3 (1 to join at the end of the round, 2 to start of the 4th round , then in the 3rd stitch: ch 2, 3 dc, ch 2, slst → first ear.
- Slip stitch 5, in the 6th slst, repeat the same ear pattern ( ch 2, 3 dc, ch 2, slst ) → second ear.
- Continue around with slip stitches to the end of the round, fasten off, and weave in the ends.
Pattern 2
This version has a bigger, rounder face with chunkier ears, used more for larger pieces or for older kids, like could be attached to the backpack, romper, a blanket, or even a beanie, again you can play with the yarn and hook size to get different sizes.
Head
- Start with a magic ring and make 12 dc.
- Increase in every stitch (24).
- Work 1 dc, inc all the way around (36).
Ears
- Slip stitch 3, then in the 3rd stitch: ch 2, 2 dc, 1 tr, 2 dc, ch 2, slst → first ear.
- Slip stitch 8, in the 9th slst , repeat the same for the second ear.
- Continue around with slip stitches, fasten off, and weave in.
Adding Personality
This is the fun part! 🥰 You can embroider little sleepy eyes, a triangle nose, and a smile with black thread. Or, if the applique is just for decoration (not for kids under 3), you can pop on tiny safety eyes.
here’s how I did mine step-by-step, it is the same process for both patterns:
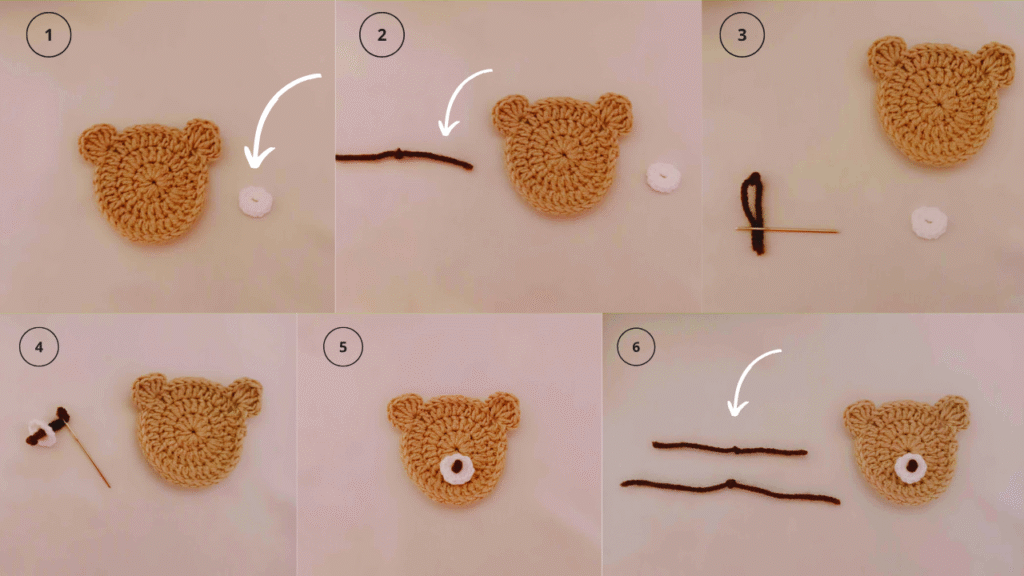
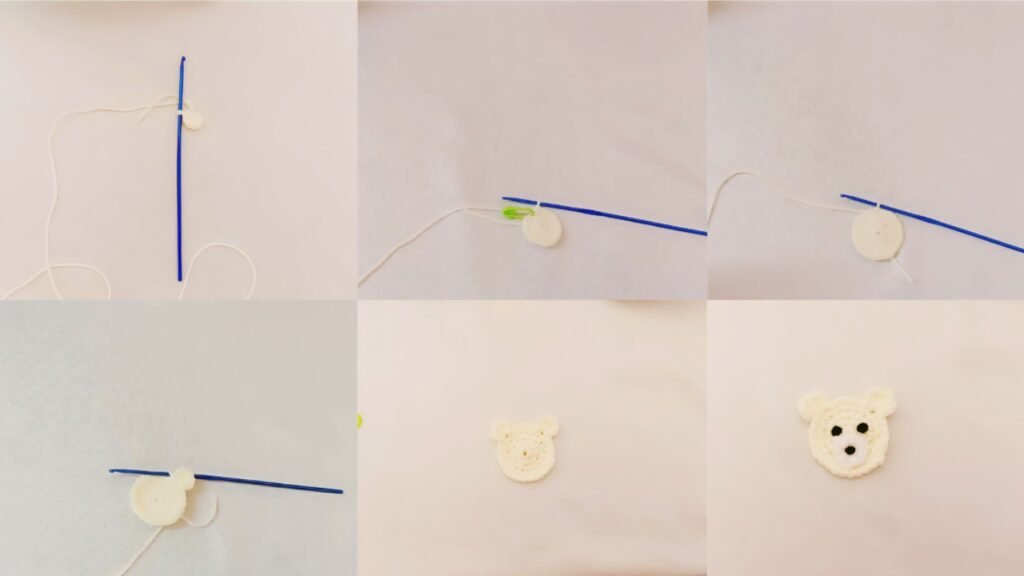
- The Muzzle : using a white yarn, make a MR, 6sc and tie, that’s for the first pattern, for the second you can make 12 sc for a bigger one, but 6 was enough for me.
- The Nose : for the nose, take a piece of dark thread / black or brown, make a knot, take both ends of the thread, and insert them through the Muzzle.
- The Eyes : make similar knots, and insert them in a suitable place just above the Muzzle.
If you are still a beginner, do not worry, here is a full guide on how to start crocheting today !

2 Comments